A few weeks ago we took Jack to see Disney on Ice and it was all Princesses. Well I knew the place would be filled with all these little girls dressed as their favorite princess (BOY! WAS I RIGHT!) Well I didn’t want Jack to feel left out, so I made him a crown so he could be a prince for the evening. I wanted to find a crown that was just right and and could be used more than once. So felt was automatically perfect for the occasion.

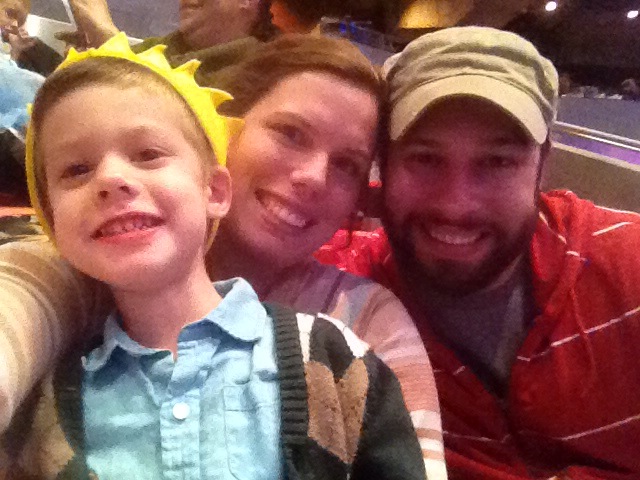
Our family ❤
I didn’t take pictures of the making of this crown, but as luck would have it, a close friend of mine is having a baby boy in June so I made him a newborn sized crown with pictures!!
I will be showing 3 different crowns (1 boy and 2 girls)
For all of these you will need:
2 pieces for felt (same or contrasting colors)
thread
sewing machine
pattern
sharp scissors
The pattern I used for the newborns and Jackson’s crown I found at Hellobee . For this crown you will need some embroidery thread and needle.
Step 1:
Lay out your crown pattern (remember this was for a newborn for newborns use once, for toddler cut the felt horizontally and use the pattern twice)
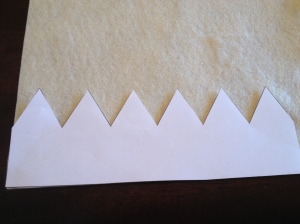
(for newborns use once, for toddler cut the felt horizontally and use the pattern twice)
Step 2:
Cut out your felt pieces and line them up. (using pins help while sewing)
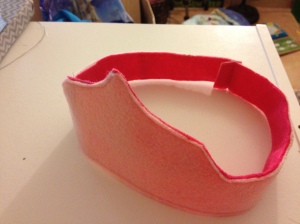
Step 3:
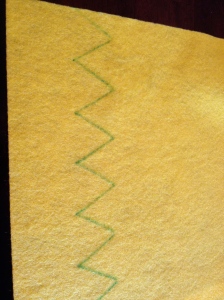
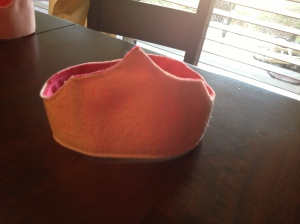
Sew the 2 pieces together along all the edges. In the back where the pieces overlap cut down one triangle so that it will not be thicker than the others. Once you are done sewing go around with scissors and trim up your crown so that all edges meet perfectly. Use the embroidery thread at your back seam for added decoration.

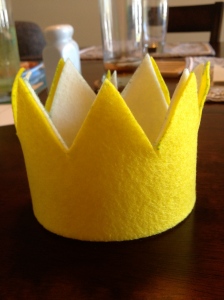
Congratulations you now have your own Prince Crown! Customize it as much as you want or leave it be.
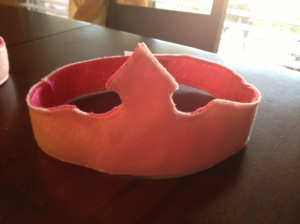
Now for those Princesses! These crowns were made for the same little boy’s bigger sisters. Why not have a fairy tale family!
These patterns came from Cutesy Crafts . They are the exact same steps as the above crown so I will just show with pictures!
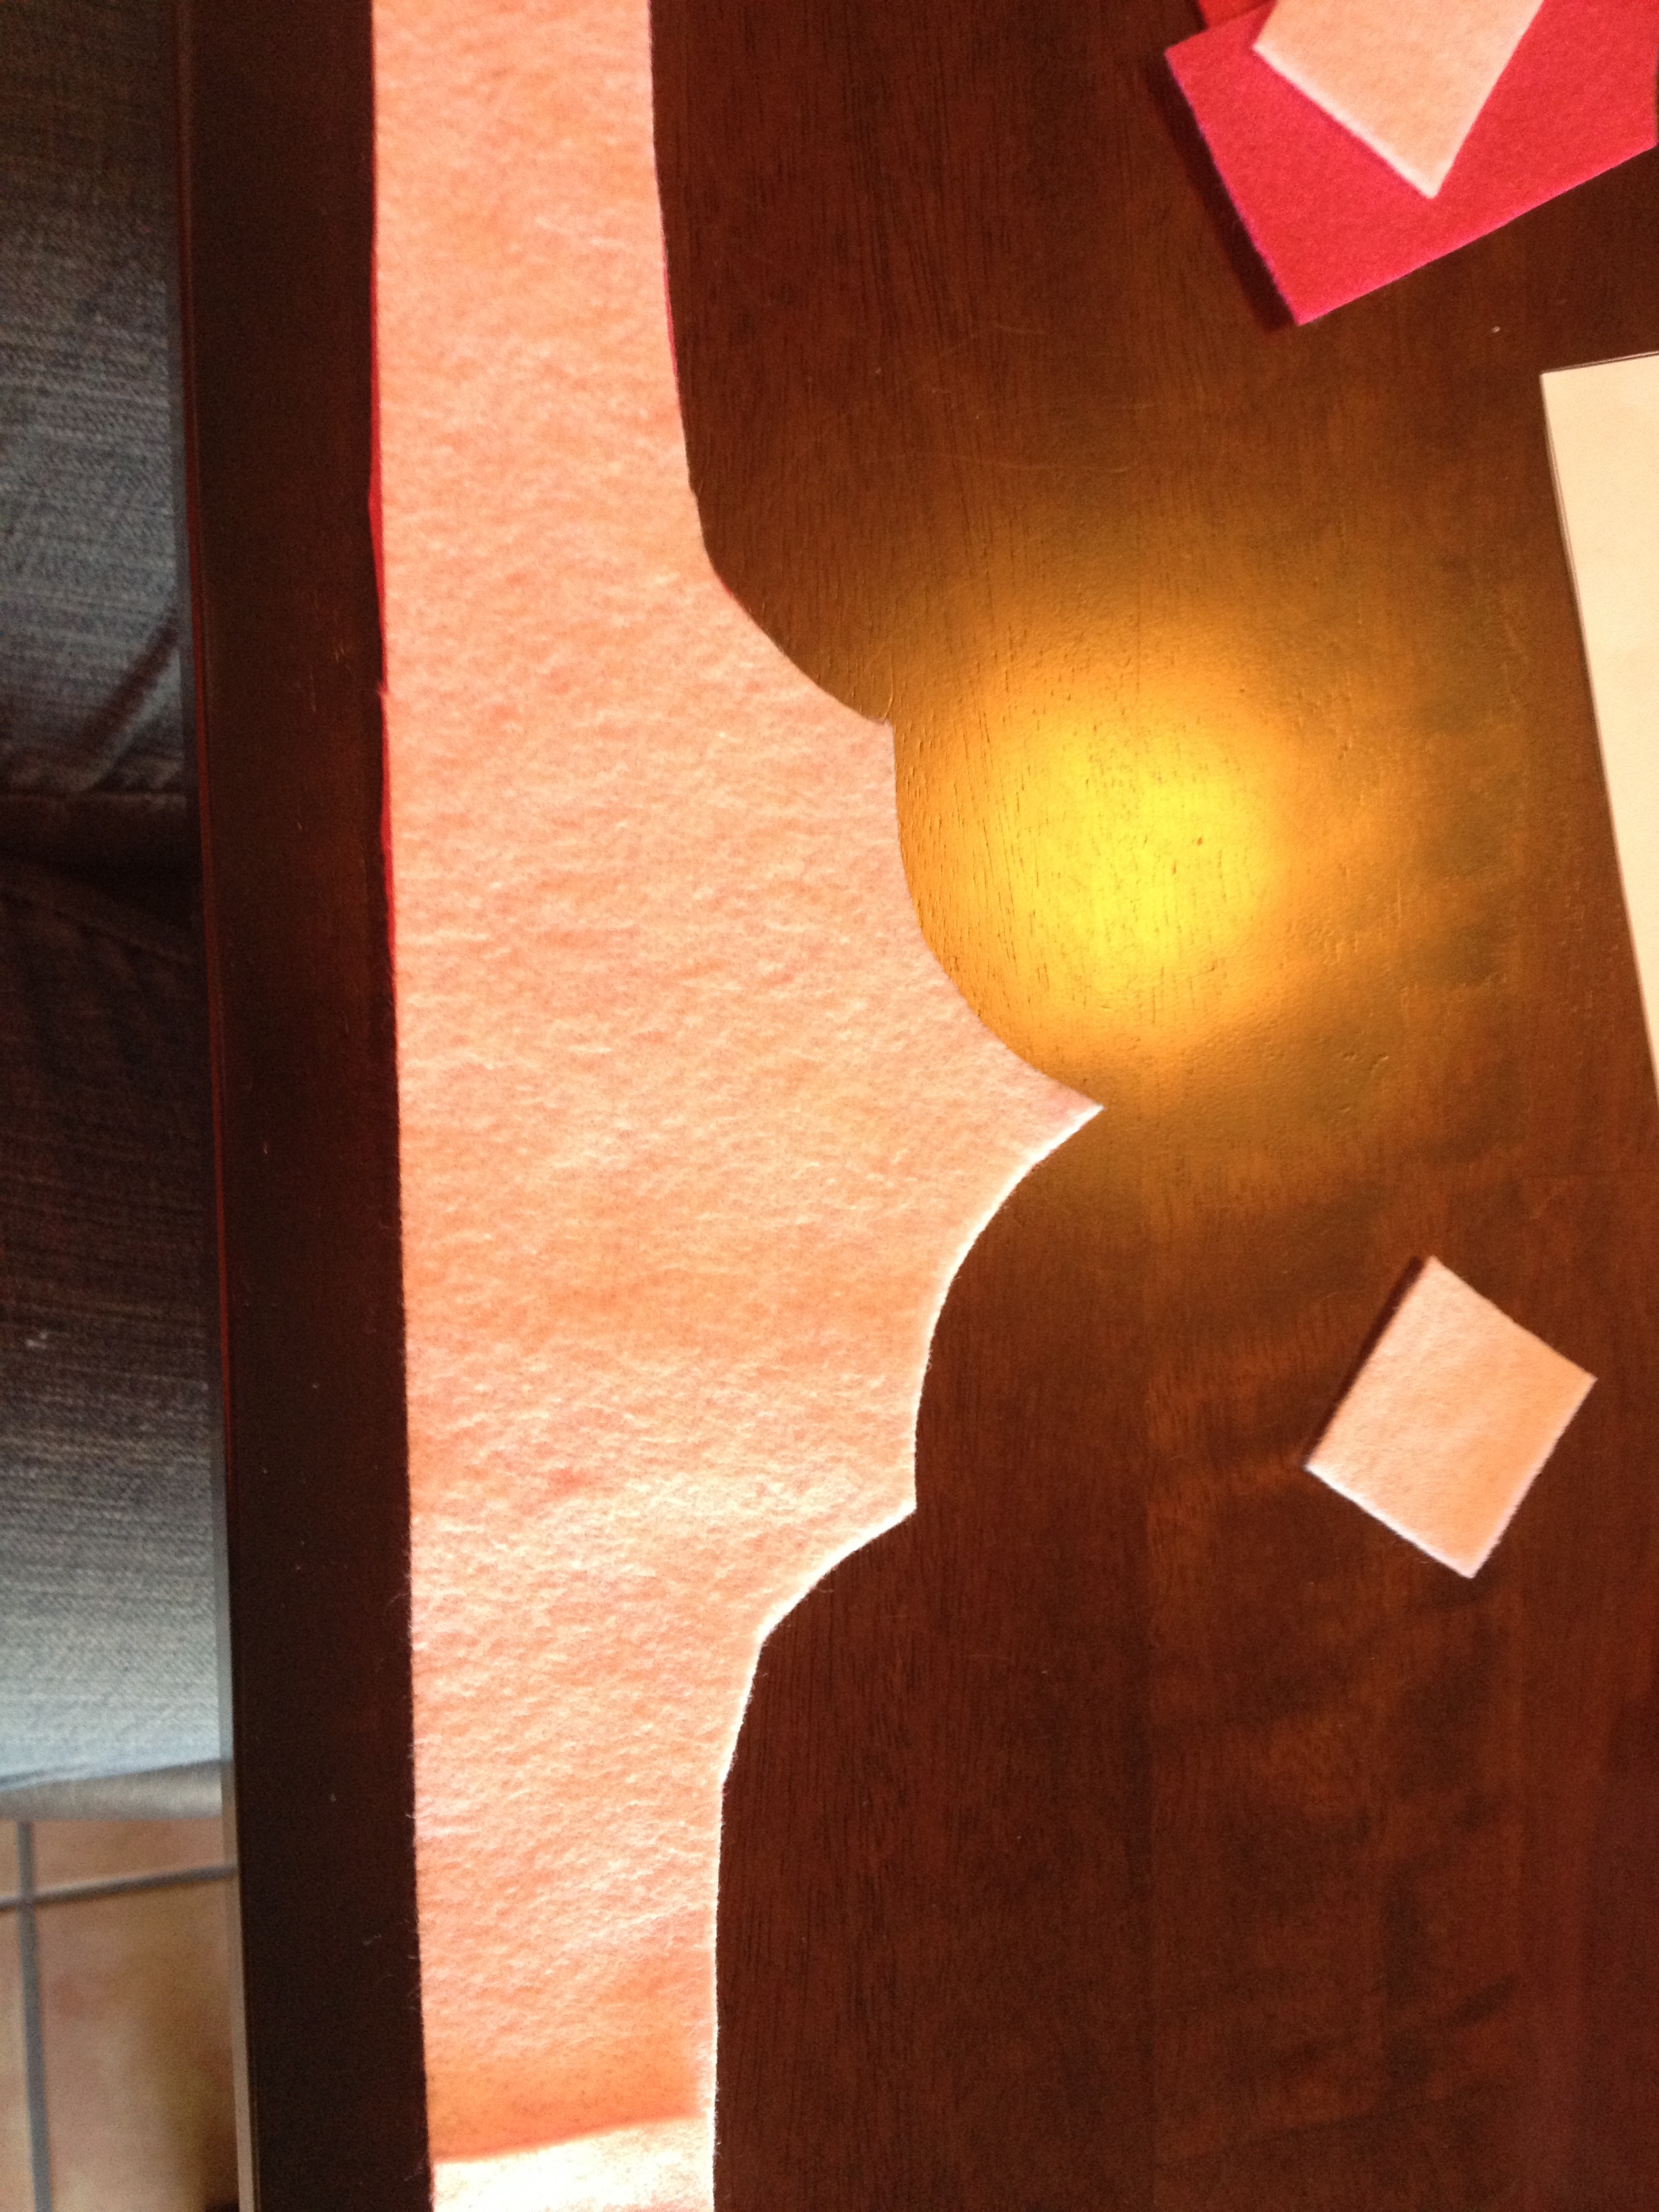
Step 1:
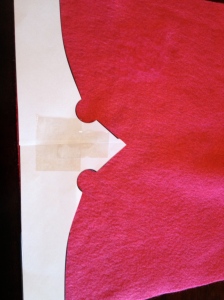

(You can see on the light pink where the main section of the crown I placed in the middle and along the top is the band for the back of the child’s head. I wanted the seams to be along the sides instead of the middle like the pattern showed.)
Step 2:
Cut it out!
Step 3: SEW!!!
I hope you princesses and prince enjoy a little dress up time this week!